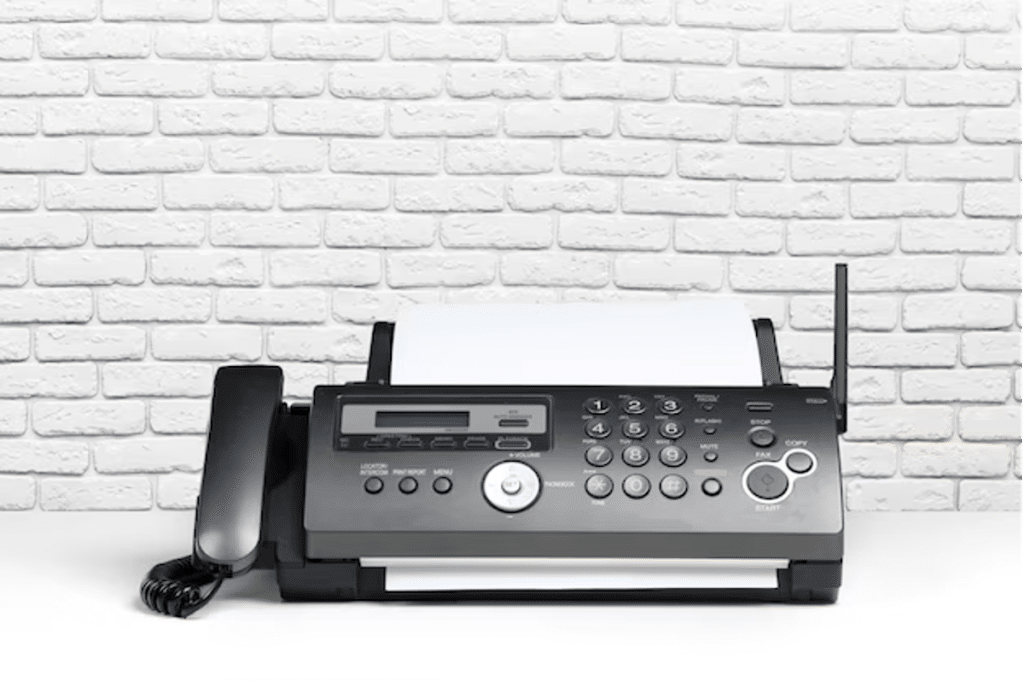
Faxing may seem like a relic of the past, but it still plays a crucial role in various professional settings. The iPhone, with its advanced capabilities, can streamline and enhance your faxing experience. In this guide, we’ll explore the top 10 tips for achieving the ultimate iPhone faxing experience.
1. Choose the Right Faxing App
Selecting the right faxing app is the first step towards a seamless experience. Look for apps that integrate well with your iPhone, offer intuitive interfaces, and provide essential features like document editing and cloud storage integration. Popular choices include FaxFile, iFax, and Genius Fax.
● Check App Reviews and Ratings
Before making a decision, explore reviews and ratings for different faxing apps on the App Store. This provides insights into user experiences and helps you choose an app that meets your specific requirements.
2. Ensure Document Compatibility
Before sending a fax, ensure that your document is compatible with faxing standards. Most faxing apps support common file formats like PDF, DOC, and JPEG. If needed, use your iPhone’s built-in tools or third-party apps to convert files to fax-friendly formats.
● Use the iOS Document Scanner
Take advantage of the built-in document scanner in the Files app or Notes. This feature allows you to capture crisp images and convert them into PDFs, ensuring your documents are fax-ready.
3. Optimize Image Quality
Image quality is paramount when you want to fax from iphone. Adjust your iPhone’s camera settings to capture high-resolution images. Some faxing apps also provide tools to enhance image clarity before sending the fax. Experiment with these settings to achieve optimal results.
● Test Different Lighting Conditions
Experiment with capturing documents in various lighting conditions to find the best setting for optimal image quality.
4. Explore Cloud Storage Integration
Many faxing apps offer integration with popular cloud storage services such as iCloud, Google Drive, and Dropbox. Syncing your documents with cloud storage ensures easy access and facilitates seamless faxing directly from your cloud accounts.
● Set Up Automatic Cloud Backups
Enable automatic backups of your faxed documents to the cloud to ensure you have a secure and accessible archive.
5. Utilize Electronic Signatures
Save time and streamline document approval processes by using electronic signatures. iPhone users can easily add electronic signatures to PDFs using the Markup feature in the Photos app. This adds a professional touch to your faxes and eliminates the need for physical signatures.
● Verify Legal Validity
Before relying solely on electronic signatures, verify their legal validity in your jurisdiction, especially for sensitive documents.
6. Secure Your Fax Communication
Security is crucial when transmitting sensitive information. Choose faxing apps that encrypt your documents during transmission. Additionally, set up password protection for your fax app to ensure that only authorized individuals can access and send faxes from your iPhone.
● Regularly Update Security Settings
Check for security updates within the app and update your security settings to stay ahead of potential vulnerabilities.
7. Check Faxing Costs and Plans
Some faxing apps operate on a subscription or pay-per-use model. Familiarize yourself with the pricing plans and choose one that aligns with your faxing needs. Consider factors such as the number of pages you anticipate faxing monthly and any additional features offered in premium plans.
● Monitor Usage to Avoid Overages
Regularly check your faxing app’s usage statistics to stay within your plan limits. This prevents unexpected charges and ensures a cost-effective faxing experience.
8. Customize Fax Cover Sheets
Add a professional touch to your faxes by customizing cover sheets. Include your company logo, contact details, and a brief message. Many faxing apps allow you to create and save custom cover sheets for quick and consistent use.
● Keep Cover Sheets Concise
Ensure your custom cover sheets remain concise and to the point to maintain a professional appearance.
9. Schedule Fax Delivery Times
Optimize the timing of your fax transmissions by scheduling delivery times. This ensures that your faxes are sent at appropriate hours and can be received promptly by the intended recipients.
● Consider Recipient Time Zones
If you frequently send faxes to recipients in different time zones, take this into account when scheduling deliveries. This helps in avoiding inconveniences and ensures that your faxes are received during business hours.
10. Regularly Update Your Faxing App
Keep your faxing app up-to-date to benefit from the latest features, improvements, and security patches. App developers regularly release updates to enhance performance and address any issues. Set your iPhone to automatic app updates or check for updates regularly in the App Store.
● Review Update Release Notes
Before updating, review the app’s release notes to understand the changes and improvements introduced in the latest version.
End Note
In conclusion, achieving the ultimate iPhone faxing experience involves selecting the right app, optimizing documents, ensuring security, and staying mindful of costs. By following these top 10 tips, including the subpoints, you can streamline your faxing process and make the most out of your iPhone’s capabilities.


